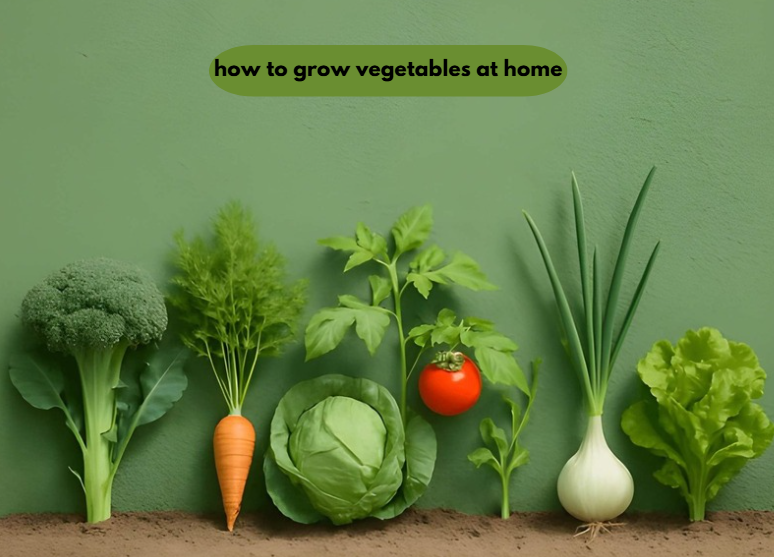
Let me be honest with you—I used to think growing your own food required a sprawling backyard, a shed full of tools, and some inherited gardening wisdom passed down through generations. None of that is true. Whether you’re living in a studio apartment, a compact townhouse, or a home where the “garden” is basically a fire escape, learning how to grow vegetables at home is completely doable. People do it every day in cities like New York, San Francisco, Chicago, and Seattle—in spaces smaller than most living rooms.
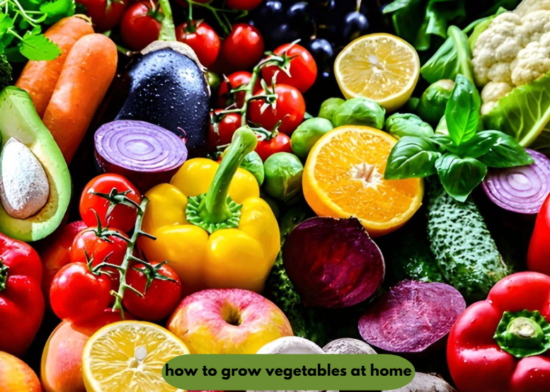
Growing your own food has become a huge trend. People want to reduce their grocery expenses, be aware of the source of their food, and infuse their home with vitality.
The good news? Plants don’t care about square footage. They just need light, water, nutrients, and airflow. Get those four things right, and you can easily grow salads, tomatoes, and fresh herbs from a balcony, windowsill, or sunny hallway.
Here’s how to actually do it.
Step 1—Figure Out Your Light Before You Buy Anything
I cannot stress this enough: before you even look into how to grow vegetables at home, don’t buy a single seed until you’ve spent two or three days observing how sunlight moves through your space. Light is everything. It’s the one thing you can’t fake cheaply, and misreading it is the most common reason beginner gardens fail.
Here’s a simple breakdown of what you’re working with:
- 6+ hours of direct sun — You’re in great shape. Grow almost anything: tomatoes, peppers, cucumbers, beans, and squash.
- 4–6 hours of partial sun—Perfect for leafy greens, herbs, radishes, and peas. Very productive space.
- 2–4 hours or indirect light—Stick to microgreens, sprouts, and shade-tolerant herbs like mint and parsley.
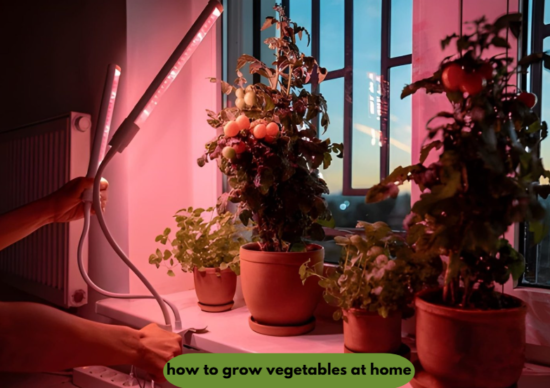
- No natural light—full-spectrum LED grow lights (20–30 watts per square foot) work well. Run them 12–16 hours a day since artificial light is less intense than direct sun.
South-facing windows and balconies are the jackpot. East and west-facing spots handle medium-light crops well. North-facing spaces need supplemental lighting to do much of anything productive.
Step 2—Choose the Right Containers
Many people overcomplicate things in this situation. You don’t need a matching set of terracotta pots from a garden center. You need containers with drainage holes and the right depth for whatever you’re growing. That’s really it.
| Crop | Minimum Depth | Best Container Type |
| Lettuce / Spinach | 6 inches | Window boxes, fabric bags |
| Herbs (basil, cilantro) | 6–8 inches | Terra cotta, small pots |
| Cherry Tomatoes | 12–14 inches | 5-gallon buckets, grow bags |
| Peppers | 12 inches | Fabric pots |
| Radishes / Carrots | 8–12 inches | Deep window boxes |
| Cucumbers | 12 inches | Large containers with trellis |
Fabric grow bags beat plastic pots every time. They prevent root binding and drain beautifully.
Color matters, too. Dark pots trap heat—great for cool areas, but deadly on a scorching summer balcony. If you get intense afternoon sun, go with light-colored containers.
And please, ensure you have drainage holes. Waterlogged roots kill plants faster than any drought.
Finally, remember that wet soil gets heavy; a 5-gallon bucket can top 40 pounds. Keep heavy containers close to the building walls, not the railing, and opt for lightweight fabric or plastic over heavy ceramic.
Step 3—Think Vertically
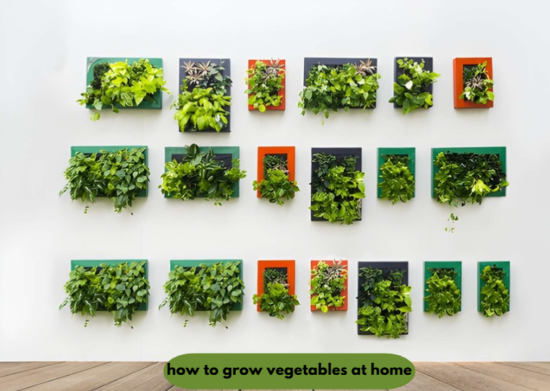
This is the single biggest unlock for small-space growers. Once you figure out how to grow vegetables at home using walls, railings, and vertical panels instead of just floor space, your growing area multiplies dramatically.
A few methods that actually work well:
Trellis systems are perfect for cucumbers, beans, peas, and climbing tomatoes. A basic bamboo trellis attached to a balcony railing can support 20+ pounds of cucumbers over a season—from a footprint of less than a square foot.
Pocket planters hung on fences or walls are great for strawberries, lettuce, and herbs. A single panel can hold 20–30 plants in about 2 square feet.
Tiered shelving near a window or sliding door lets you stack pots in a light gradient — tallest plants at the top, compact herbs lower down.
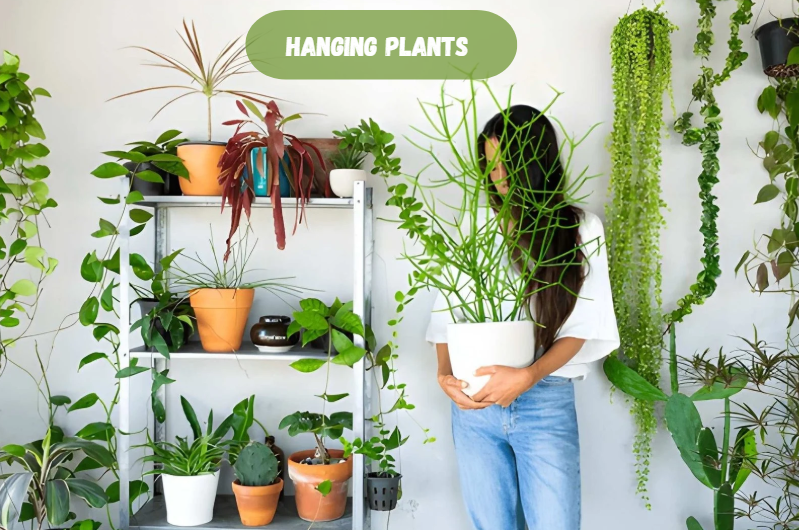
Hanging baskets are underrated. Cherry tomatoes and trailing herbs in south-facing hanging baskets produce surprisingly well with minimal floor space.
High balconies face intense wind that snaps stems and dries soil fast. Secure tall plants to railings with soft ties, or cluster pots together for shelter. In very windy spots, skip the tall crops and stick to low-profile options like kale and dwarf peppers.
Ultimately, a six-foot wall or fence, used thoughtfully, can easily outperform a traditional raised bed. Go up.
Step 4 — Design Your Layout Before You Plant
Most beginners skip this step, and most beginners end up with crowded, shaded, hard-to-water tangles by midsummer. Spend 20 minutes sketching your space before you place a single container. It genuinely pays off.
Think in zones based on your light assessment:
Zone A—Prime Sun (6+ hours): Reserve this for fruiting crops—tomatoes, peppers, cucumbers. These plants need the most light and reward you with the most food.
Zone B — Partial Sun (4–6 hours): Dedicate this to leafy greens, radishes, beets, and herbs. These grow fast and can be harvested repeatedly throughout the season.
Zone C — Low Light or Indoors: Sprouts, microgreens, mushrooms, and herbs like mint and parsley thrive here without competing for prime window space.
Leave at least 18 inches between container rows so you can water and harvest without contorting yourself. Companion planting is worth incorporating too—basil near tomatoes repels pests, marigolds deter aphids, and nasturtiums attract beneficial insects. If you want a full walkthrough on mapping this out, search “how to design a garden layout kdagardenation“ for a step-by-step blueprint. Even a quick pencil sketch before planting will save you time, money, and headaches.
Step 5—Soil, Fertilizer, and Water
Container growing has different rules. The absolute biggest mistake? Using garden soil in pots. Avoid doing it. It suffocates roots, compacts, and drains poorly.
Always use a proper potting mix. To make your own, blend 40% coco coir, 40% compost, and 20% perlite. Or, just buy a quality container mix.
As for fertilizer, container plants exhaust nutrients fast because daily watering flushes them right out.
Feed every two weeks, but tailor your fertilizer to what you’re growing:
- Leafy greens and herbs: Use a nitrogen-rich liquid fertilizer (look for N-P-K ratios like 9-3-3 or 5-1-1, such as fish emulsion) at half-strength every 14 days.
- Fruiting crops (tomatoes, peppers, cucumbers): Once you see the first flowers forming, switch to a high-phosphorus and potassium formula (5-10-10 or 4-18-38, often labeled “Tomato Food”) to trigger fruit production rather than just more leaves.
- Lazy option: Mix worm castings or a slow-release granular fertilizer (4-4-4 blend) into the top 2 inches of soil at planting time for a steady, gentle feed all season.
The golden rule for watering: press your finger two inches into the soil. If it’s dry, water deeply until it drains; if it’s moist, leave it. Fabric bags dry out fast in summer, so check them daily.
To remove the guesswork entirely, a cheap drip irrigation kit with a timer ($20–$40) is the best investment you can make.
Just remember to use deep saucers under your pots. Muddy water dripping onto a downstairs neighbor’s patio is the easiest way to get your garden banned by management.
Step 6—The Best Vegetables to Grow in Small Spaces
Not everything is worth growing in containers. Focus on high-yield, compact, fast-maturing varieties that give you a real return on your effort.
The top 10 for small spaces:
- Cherry Tomatoes (Tumbling Tom, Sweet 100) — Compact, incredibly prolific, ready in 6–8 weeks
- Lettuce and Salad Greens—Cut-and-come-again; perpetual harvest starting at 4 weeks
- Radishes—Ready in 22–30 days; succession-plant every 2 weeks for continuous supply
- Dwarf/Bush Beans—High yield in small containers, no staking needed
- Spinach—Fast-growing cool-weather crop; harvest outer leaves continuously
- Kale—Incredibly productive; one healthy plant keeps producing for months
- Basil—Essential herb, pairs beautifully with tomatoes, and helps repel pests
- Peppers (Lunchbox, Shishito)—Compact plants with excellent yields in fabric pots
- Spring Onions/Scallions — Dense plantings in any container; ready in about 8 weeks
- Cucumbers (Bush Pickle, Spacemaster) — Vertical-trained, enormous yields per plant
What to avoid in small spaces: full-size pumpkins, watermelons, sweet corn, and sprawling squash. They demand too much root depth and horizontal space to be worth it in containers. If you accidentally bought some of these or want to see how to properly map out a tight space, looking up “can i design my own garden kdagardenation ” can help you maximize your footprint with the right varieties instead.
Step 7 — Plan for Year-Round Growing
Small-space growing doesn’t have to go dormant in winter if you think ahead.
- Spring (March–May): Sow cool-weather crops—lettuce, spinach, peas, radishes, and kale. Start tomatoes and peppers indoors to get a head start.
- Summer (June–August): Transplant tomatoes, cucumbers, peppers, and beans outdoors. Harvest the greens from spring. Succession-plant beans every 3 weeks.
- Fall (September–November): Sow a second round of cool-weather crops—arugula, spinach, kale, and Asian greens. Fall plantings often outperform spring ones.
- Winter (December–February): Shift indoors—microgreens, sprouts, and herbs under grow lights. In milder climates, kale and spinach will continue outside under frost cloth.
Step 8—Dealing with Pests, Organically
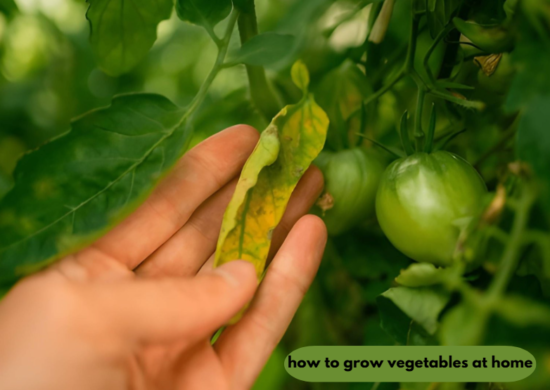
Container gardens face fewer pest challenges than in-ground beds, but they’re not immune. A simple weekly routine keeps most problems manageable:
Look for eggs and larvae on the undersides of leaves. Spray a preventive mix of 2 tsp neem oil + 1 tsp liquid castile soap in 1 quart of warm water. Never use harsh dish detergents; they strip the leaf’s coating and cause chemical burns.
The Real Thing Nobody Tells You
Stop viewing your balcony or windowsill as a limitation. It’s a space waiting to happen. Your first garden doesn’t need to be Instagram-worthy; you just need to learn how to grow vegetables at home and get something started. That first balcony tomato—warmed by the sun—will taste better than anything from a supermarket. I’m not exaggerating.
Start with just three containers of food you actually eat. Check them daily out of genuine curiosity. Keep a quick notebook, expand slowly, and expect to fail occasionally.
Every single expert gardener started exactly where you are right now—with one seed and zero certainty.