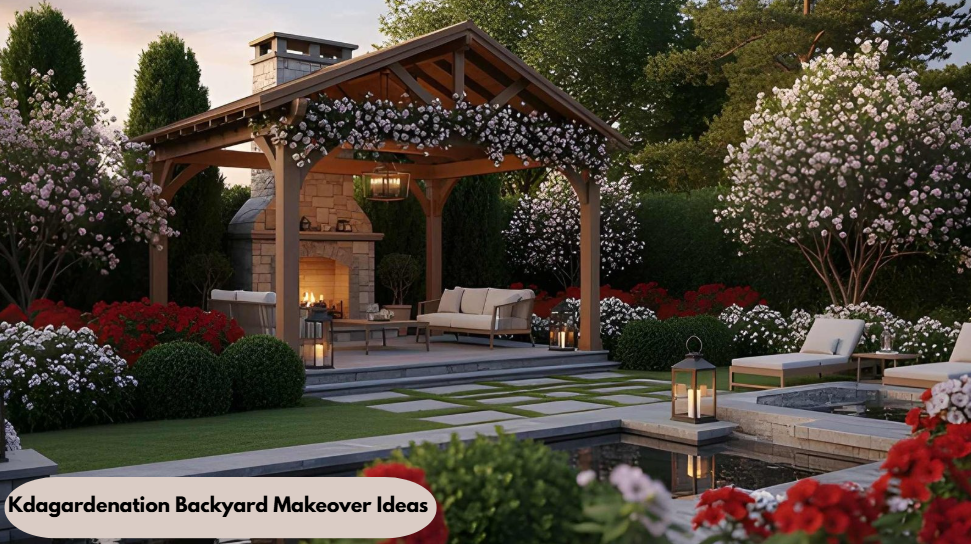
A couple of summers ago, I stood in my backyard staring at a patch of dead grass, an overgrown shrub, and a worn concrete slab. Sound familiar? I didn’t know where to begin until a friend who loved landscapes gave me a guide on Kdagardenation Backyard Makeover Ideas. It changed everything, taking me from a complete beginner to someone who genuinely loves spending time outside. This article is me paying that forward.
Whether you have a tiny urban plot in Chicago or a sprawling suburban yard in Texas, the fundamentals are the same: a clear plan, the right plants, smart use of space, and a little patience. Let’s get into it.
Why Backyard Makeovers Feel Overwhelming (And Why They Don’t Have To)

Most beginners freeze up because they focus on the lush, Instagram-worthy end result instead of the first step. The Kdagardenation backyard makeover ideas work best when you break the project into phases. Rushing a garden transformation is a major mistake that leads to expensive corrections later—you don’t have to do everything in a weekend.
According to the National Gardening Association’s 2024 report, over 55 million American households participated in food and flower gardening. Everyone began precisely where you are at now. The difference between those who gave up and those who created something beautiful comes down to one thing: having a structured approach before picking up a single shovel.
Step 1: Learn How to Design a Garden Layout Kdagardenation Style
Before you buy a single plant or bag of mulch, you need a layout. This is where most beginners skip the most important step. Knowing how to design a garden layout kdagardenation style means thinking about your space in zones—functional areas that serve different purposes.
Here’s a simple framework I personally used:
- Zone 1 – Hardscape area: Patios, pathways, or a simple deck. This is where you sit, entertain, or grill.
- Zone 2 – Planting beds: Perimeter borders or raised beds. These add visual interest and privacy.
- Zone 3 – Lawn or open space: The breathing room. Kids need it, dogs need it, and visually it balances everything out.
- Zone 4 – Utility area: Compost bin, storage shed, or tool corner. Tucked away but accessible.
Sketch this on paper first. It doesn’t need to be perfect—mine looked like a kindergartener drew it—but it gets the ideas out of your head and into reality. Free tools like GardenPlanner.net or the app iScape also let you overlay digital plans on a photo of your actual yard, which is incredibly helpful for visualizing scale.
Step 2: Work With Your Climate, Not Against It
This is where beginners make costly mistakes: falling in love with a plant, only to watch it die because it isn’t suited to their region. The US spans USDA zones 1 through 13—what thrives in Atlanta will fail in Minneapolis.
Before buying anything, spend fifteen minutes checking the USDA Plant Hardiness Zone Map (planthardiness.ars.usda.gov). Know your zone and frost dates, then let them guide your choices. I am in Zone 7; once I embraced my climate with native coneflowers, black-eyed Susans, and ornamental grasses, my yard transformed rapidly.
Don’t forget sun exposure. Spend a single day tracking where the sun hits your yard and for how long. It takes just a few hours but saves months of frustration.
Step 3: Start Small — Really, Genuinely Small
I know you’re excited—I was too. But the best advice is to start with one project, finish it well, then expand. The classic beginner trap is starting five projects at once, leaving your yard looking like a construction site for years.
A simple raised garden bed is the perfect first win. According to Gardener’s Supply Company, they are ideal for beginners because they are contained, manageable, and show fast results.
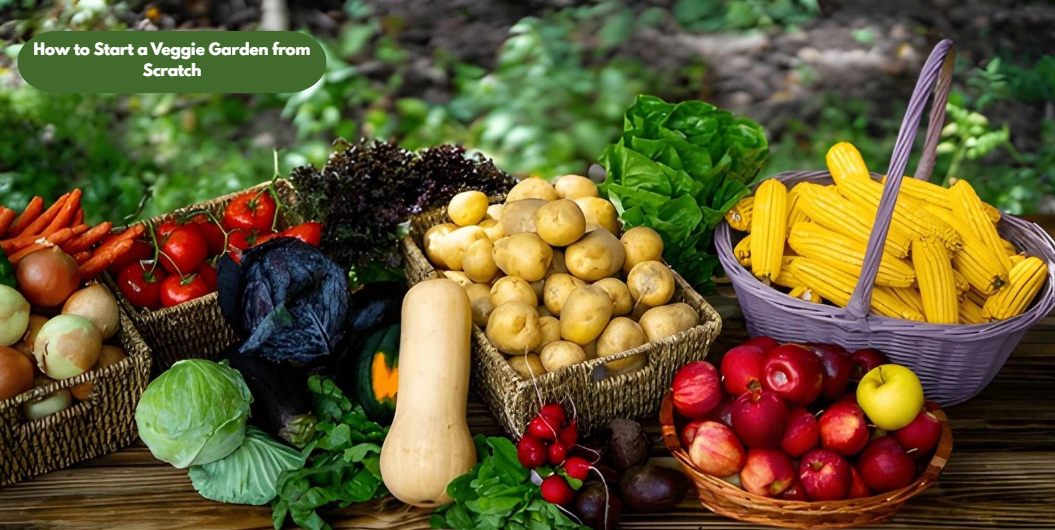
Build a 4×8-foot bed using cedar boards, which naturally resist rot without the chemicals found in treated lumber. Fill it with a quality mix of topsoil and compost, then pick forgiving, fast-growing plants. Excellent starter options for US beginners include cherry tomatoes, zucchini, basil, marigolds, and zinnias. They are satisfying, tough to kill, and will get you hooked instantly.
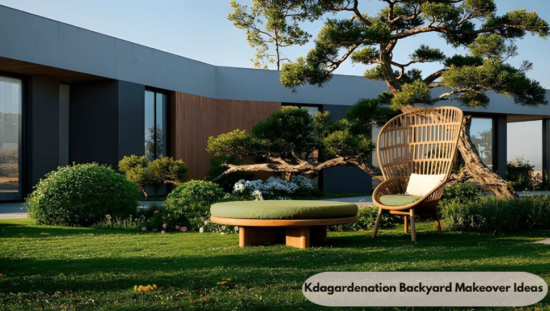
Professional Inspiration: Designing Gardens Kdagardenation Principles in Practice
Sometimes looking at professionally designed spaces helps clarify what you want. designing gardens kdagardenation principles focus on balance, flow, and purpose—three elements that matter whether you’re hiring a professional or doing it yourself.
- Balance: This is about visual stability, not perfect symmetry—like balancing a large tree on the left with a dense planting bed on the right.
- Flow: This dictates how your eyes and feet move through the space; a curving path draws you deeper, while a straight line feels utilitarian.
- Purpose: Let your personal goals—whether growing food, hosting, or creating a quiet retreat—drive every layout decision.
Step 4: Hardscaping on a Budget — It’s More Doable Than You Think
Hardscaping is anything nonliving in your yard: patios, pathways, retaining walls, fire pits, pergolas. It’s often where the budget fear kicks in. But you don’t need to spend $15,000 on a stamped concrete patio to make a dramatic difference.
Here are three budget-friendly hardscape ideas that genuinely work:
- Pea gravel patios: A 10×10 pea gravel patio can be installed for under $200 in materials and a weekend of work. Add a simple edging border, level the ground, lay landscape fabric to suppress weeds, and pour the gravel. Done. It looks clean, drains well, and feels intentional.
- Stepping stone paths: Large flat stones or concrete pavers laid across a lawn create a path that looks designed even when it isn’t elaborate. Home Depot and Lowe’s both carry 12×12 and 16×16 concrete pavers for $1–$4 each.
- Repurposed wood borders: Salvaged logs, railway sleepers, or reclaimed wood planks create natural-looking bed borders at minimal cost. Check Facebook Marketplace or Craigslist — people give away this stuff for free constantly.
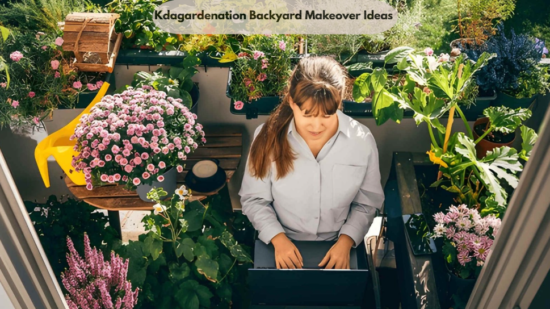
Step 5: Planting for Low Maintenance (Because Life is Busy)
The most beautiful garden won’t stay that way without maintenance. Be honest about how many hours per week you can realistically dedicate to your yard—if it’s only two, design accordingly. Low-maintenance doesn’t mean ugly; it means smart plant selection.
Native plants are hands-down the best choice for American beginners. Because they evolved in your region’s specific conditions, they are naturally adapted to local rainfall, soil, and pests. To find options for your area, use the free, state-by-state database at the Lady Bird Johnson Wildflower Center.
Here are a few nationally loved, low-maintenance native plants worth knowing:
| Plant Name | Best Light | Growth Habit | USDA Zones | Why It’s Perfect for Beginners |
| Coneflower (Echinacea) | Full Sun | 2–4 ft upright clumps | Zones 3–9 | Drought-tolerant; thrives in poor soil; attracts pollinators. |
| Black-Eyed Susan (Rudbeckia) | Full Sun / Part Shade | 1–3 ft dense mounds | Zones 3–9 | Extremely forgiving; long blooming cycle from summer to frost. |
| Coral Bells (Heuchera) | Part / Full Shade | 1–2 ft low foliage | Zones 4–9 | Grown for vibrant leaf colors; nearly indestructible in shade. |
| Switchgrass (Panicum virgatum) | Full Sun | 3–6 ft tall structure | Zones 5–9 | A deep root system requires almost zero watering once established. |
Step 6: Lighting and the Details That Make a Garden Feel ‘Finished’
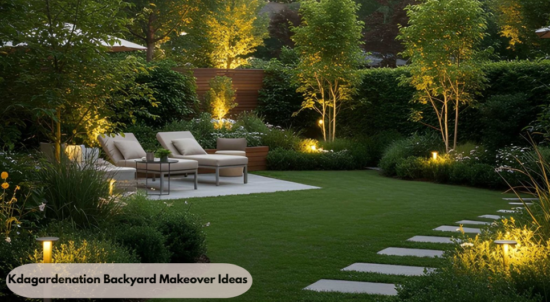
Plants alone rarely make a backyard look complete. The details—lighting and edging—are what elevate a garden from “nice” to “wow” with minimal investment.
- Solar & String Lights: A $25–$40 set of solar pathway stake lights (from top-rated brands like LITOM or Aootek) completely transforms your yard at night. Hanging outdoor-rated LED string lights over a patio costs just $30–$60 and provides unmatched evening ambience.
- Crisp Edging: Edging is the hidden hero of a polished garden. A simple $25 manual edging tool is all it takes; maintaining a clean border between your lawn and planting beds once a month keeps the whole yard looking manicured.
Realistic Costs: What a Beginner Backyard Makeover Actually Runs
Let’s talk numbers, because vague advice about “affordable” backyard transformations isn’t helpful. Based on real experience and current 2025–2026 material pricing at major US retailers:
- Starter raised bed (4×8 cedar, soil, plants): $150–$300
- Pea gravel patio (10×10): $150–$350, including edging and landscape fabric
- Perimeter planting border (20 feet of native perennials): $200–$450
- Pathway lighting (solar): $25–$80
- Basic furniture (bistro set or bench): $80–$300
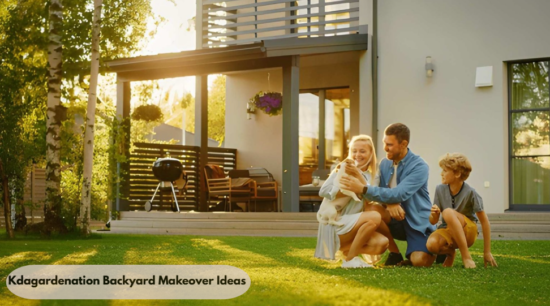
A meaningful, genuinely improved backyard is achievable for $700–$1,500 in Phase 1. That’s not a gut renovation—it’s a solid, beautiful foundation you can build on over time. Most people spread this across one or two seasons and find that breaking it into stages also helps them understand their yard better before making permanent decisions.
To see the spatial planning principles executed at a high level, browse the residential portfolios at ww. kdarchitects.net . Reviewing these professional architectural case studies is an excellent way to spark design ideas you can easily scale down for a beginner budget.
Conclusion: Honest Takeaways From a Real Beginner’s Journey
Backyard makeovers don’t have to be expensive or overwhelming. The framework is simple: know your space, design for your lifestyle, choose climate-right plants, start with one focused project, and add details over time. Everything else is just layers on top.
I turned a neglected concrete-and-dead-grass mess into a backyard I genuinely love—with zero professional help, a modest budget spread over two seasons, and Kdagardenation backyard makeover ideas applied one step at a time. If I can do it, you can too.
What to Do Next
If you’re ready to take the first real step, here’s what I’d suggest doing this week—not next month, this week:
- Walk your backyard and take photos from every corner. This gives you a baseline and helps you see the space more objectively.
- Look up your USDA hardiness zone and note your average last frost date for spring planting.
- Sketch out a rough zone layout on paper — just four boxes is enough to start.
- Pick one project from this guide to tackle first. Just one.
You can share your progress with a neighbor or a gardening community online. Your backyard is waiting. Go make something with it.